
First, this is just too damn funny.

see more crazy cat pics
Okay, on to the long awaited …
A Post!!!!!1111!!ONE
Yes, I have been reading too many LOLcatz. Deal.
On to the show.
So as you know, I have been messing with leatherworking for over a year now, but I have only recently sat down and decided to do some carving. The whole “cut stuff out and rivet it together” part comes fairly naturally to me, having been trained as a metalworker back in the days of yore (and high school.) It was time I did something a little more challenging, so I sharpened up my swivel knife and got to some serious doodling. Take this, for example:

Now, detail is pretty poor due to me using my phone’s camera, but it didn’t turn out too bad for a doodle. And yes, by the time I am done doodling, I will have a new set of coasters for the coffee table.
Once I had carved the design, though, I realized there needed to be some sort of background treatment done to help it stand out – but I had neglected to buy any backgrounding tools. Tolerant, however, in her brilliance, gave me a Dremmel tool for Xmas, and I happen to have a couple of lag bolts lying around with no better use, so I put two and two together, came up with 5, and decided to shave that down to a proper 4. The result is too small for my phone to get a good picture, but the effect is visible in the skull doodle. A simple cross-hatch pattern that does a decent job of squishing the background into the background.
So, after much doodling on the little coaster cutouts, I decided it was time to graduate to something a little larger and I bought some good tooling belly to play with. It’s about twice the thickness of the coasters which allows me to cut a more visible picture and get some real depth to it.
Like Celtic knotwork.
If you think drawing knotwork can tie your fingers up, try carving it with a small knife sometime. This came about while I was designing a new set of arm bracers for myself – I wanted to put my stylized compass rose motif on them, but realized there needed to be a border of some sort.
I was originally against the idea of knotwork due to another artisan on the Faire / SCA circuit who borders a lot of his stuff with knotwork. Besides – it looks so damned hard to carve :) So, I experimented with a few geometric designs that will probably work pretty well, but didn’t quite strike me as being very period.
While digging around on the Net for some examples of actual period stuff (and there isn’t much) I decided to go take a second look at the afore-mentioned “other guy’s” stuff – and discovered that he isn’t really even doing knotwork. He just does a three-strand plait. (See this reference for a complete description of a three-cord plait and knots.) On top of not really being knotwork, he never finishes it – it just runs right off the edge of the piece on it’s way back to Ireland, apparently offended at not being done right.
Well, if he’s going to cheat it, I can feel free to do it right! Here is most of the “Mark II” design for the arm bracers:

I have never claimed to be an artist, but I am a pretty decent draftsman – so I usually put things together on graph paper. Here you can see that I had to cut several pieces of graph paper out to get the knots suitably centered and rotated on the main pattern.
While it is not a terribly ornate design, I am pleased that both sides come out not as a three-cord braid, but rather a single strand woven back through itself from one side to the other. And, through the wonders of transparent tape and a scanner, I now have a re-printable pdf of the design complete with graph lines that I can use in future projects.
But, before I jump off the deep end and carve the actual bracers, I thought I should practice that knotwork. Here are a couple of small pieces:
Normal…
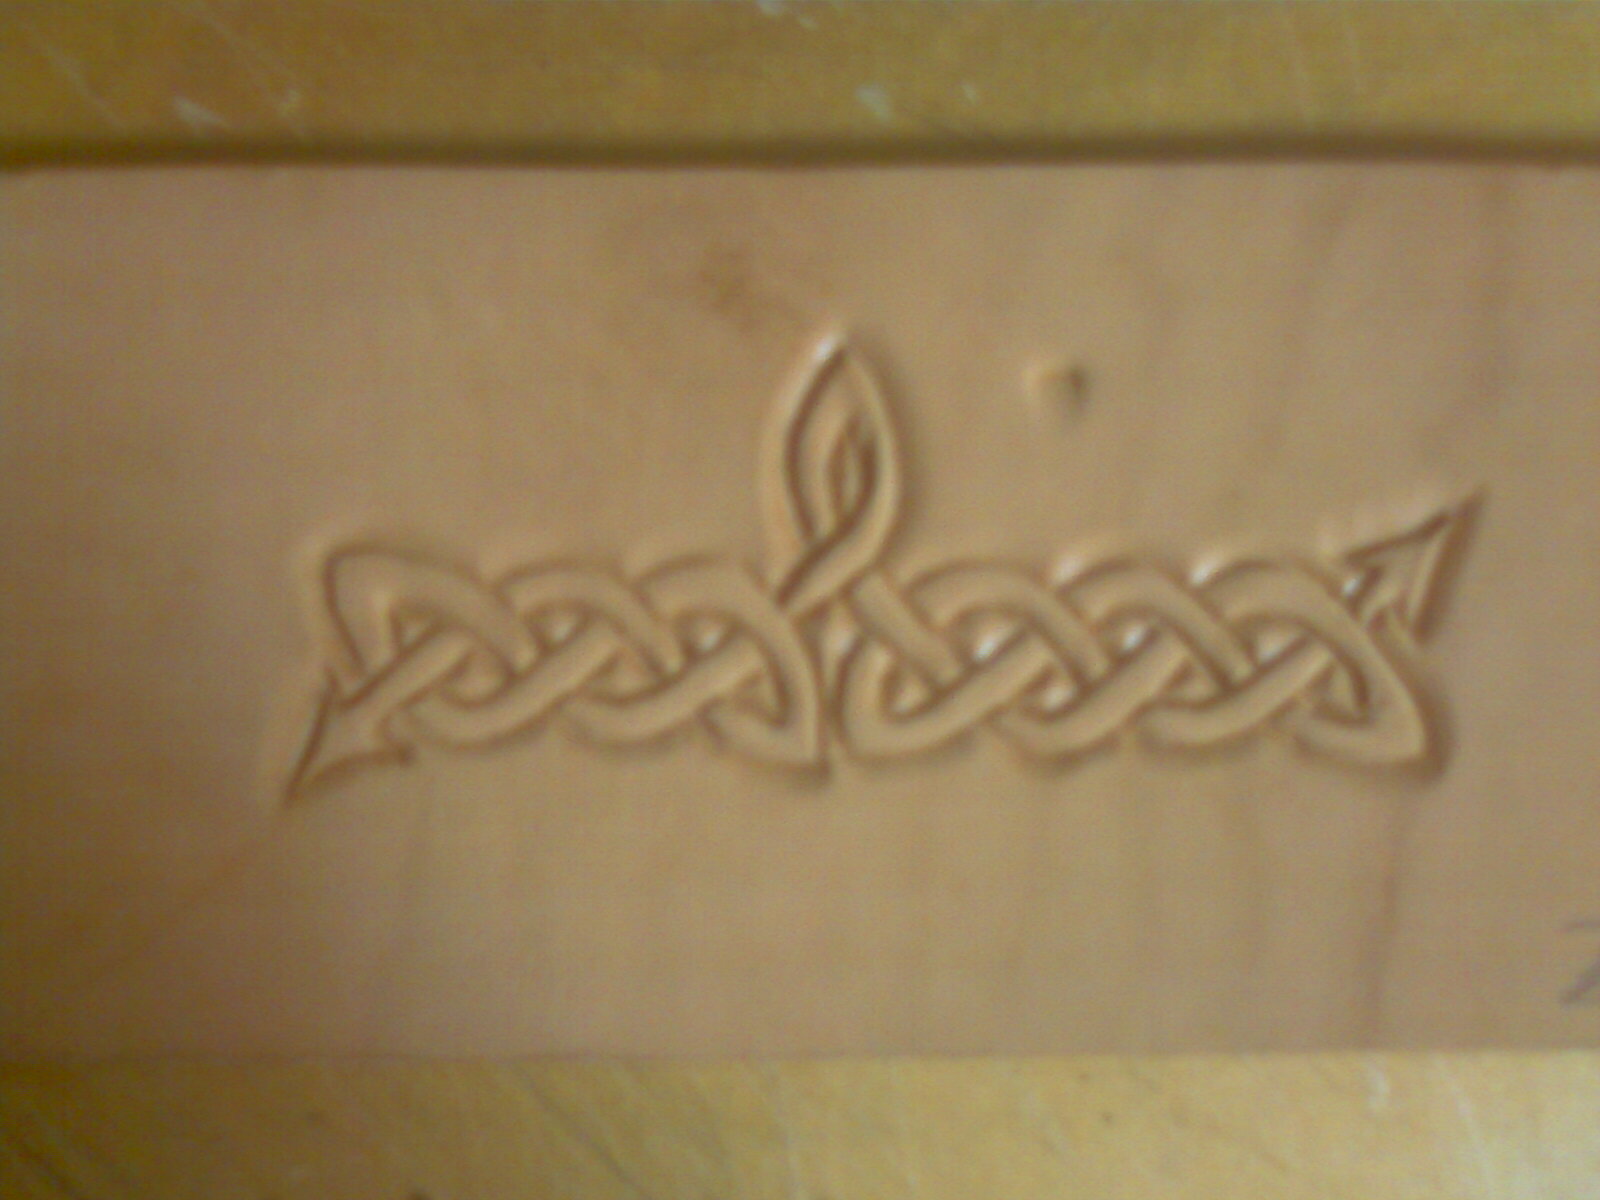
…and Inverted
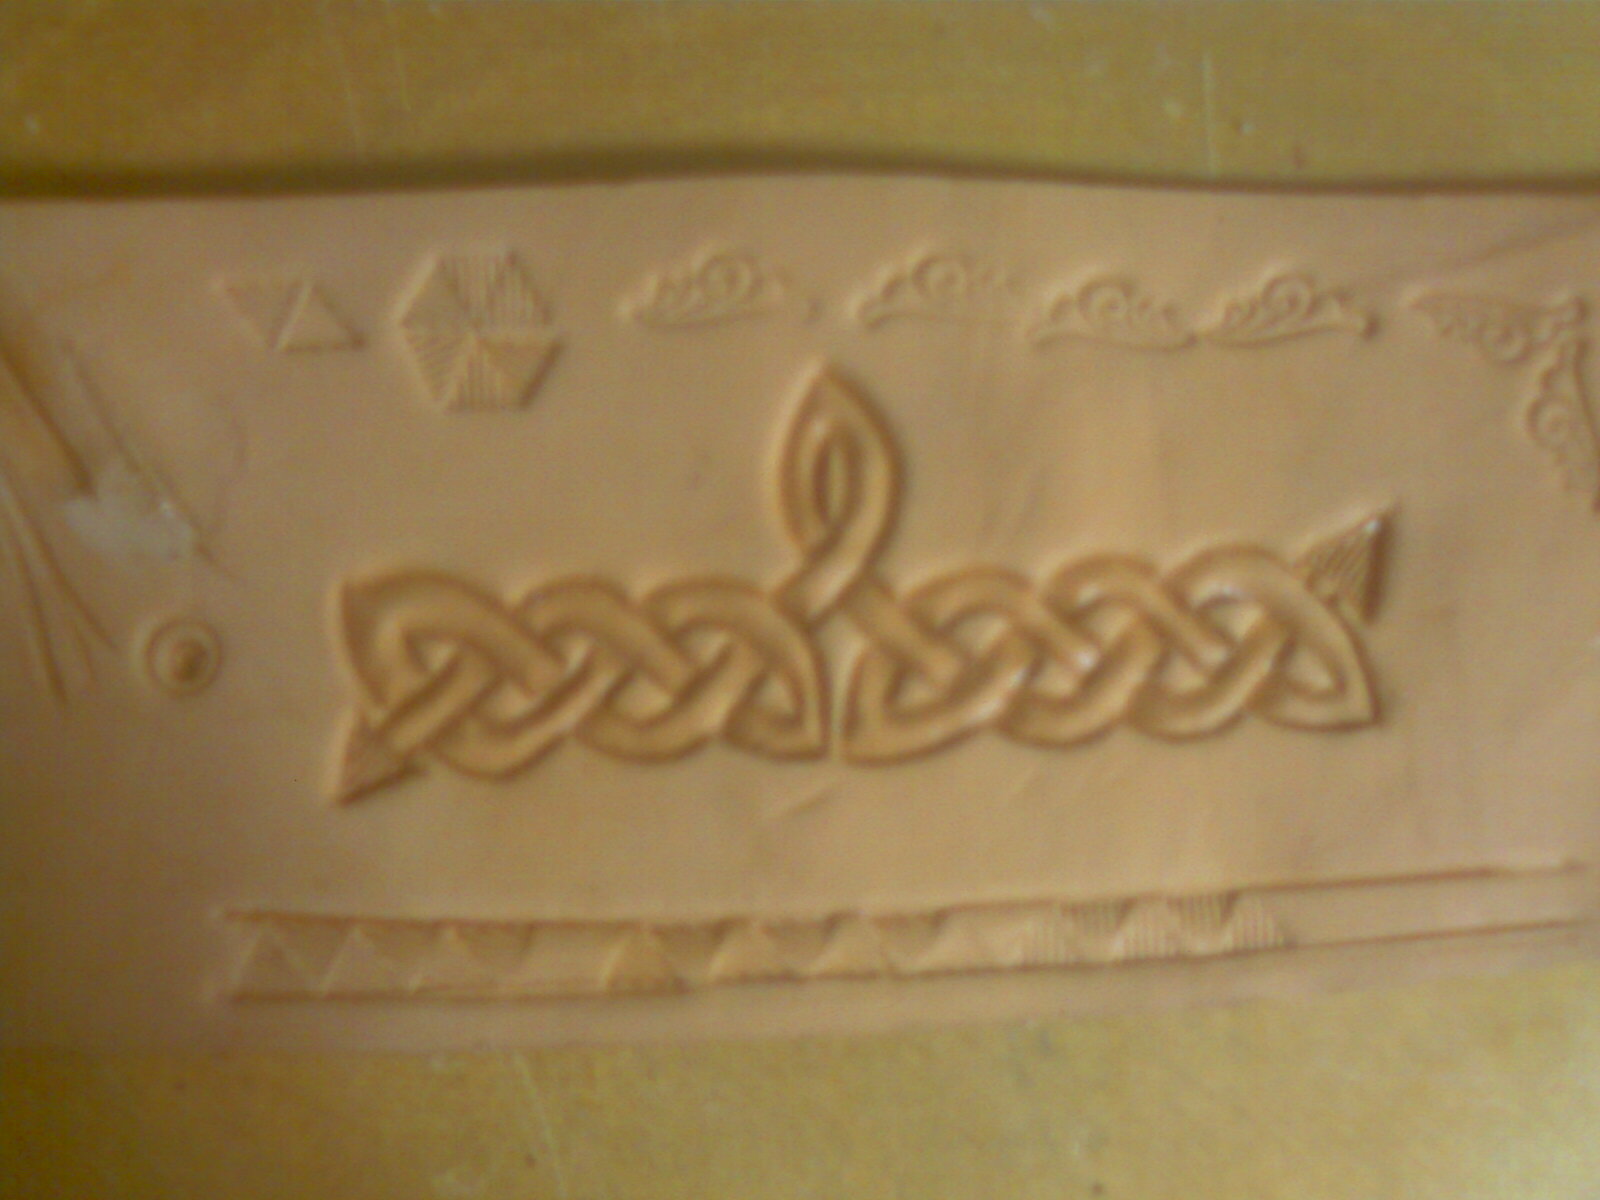
The difference between the two is which part gets the beveling. Normally, you bevel outside the design so it stands out, and you can make it stand out further by using a background tool on the surrounding area. In Inverted, you (obviously) bevel the design itself, and leave the rest of the work alone. I will probably be using this second method for border designs. The only tricky part in using this method on knotwork is getting the ‘over’ strand to look like it is really crossing the ‘under’ strand. Obviously, more practice is required.